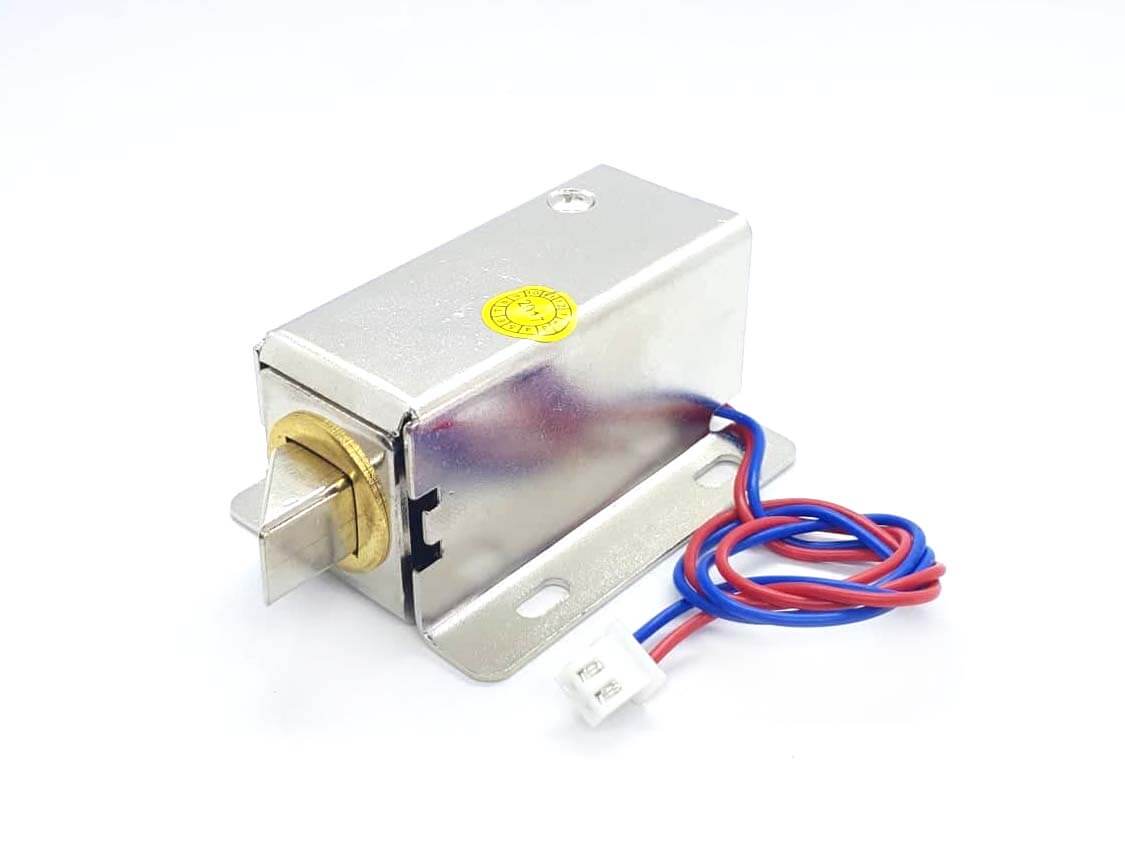
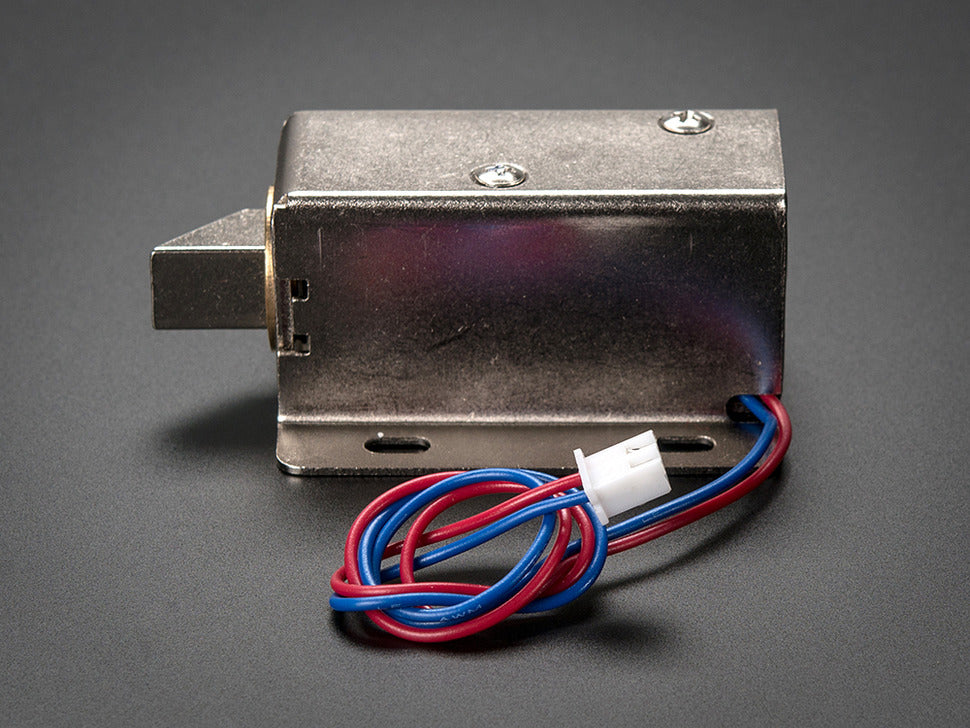
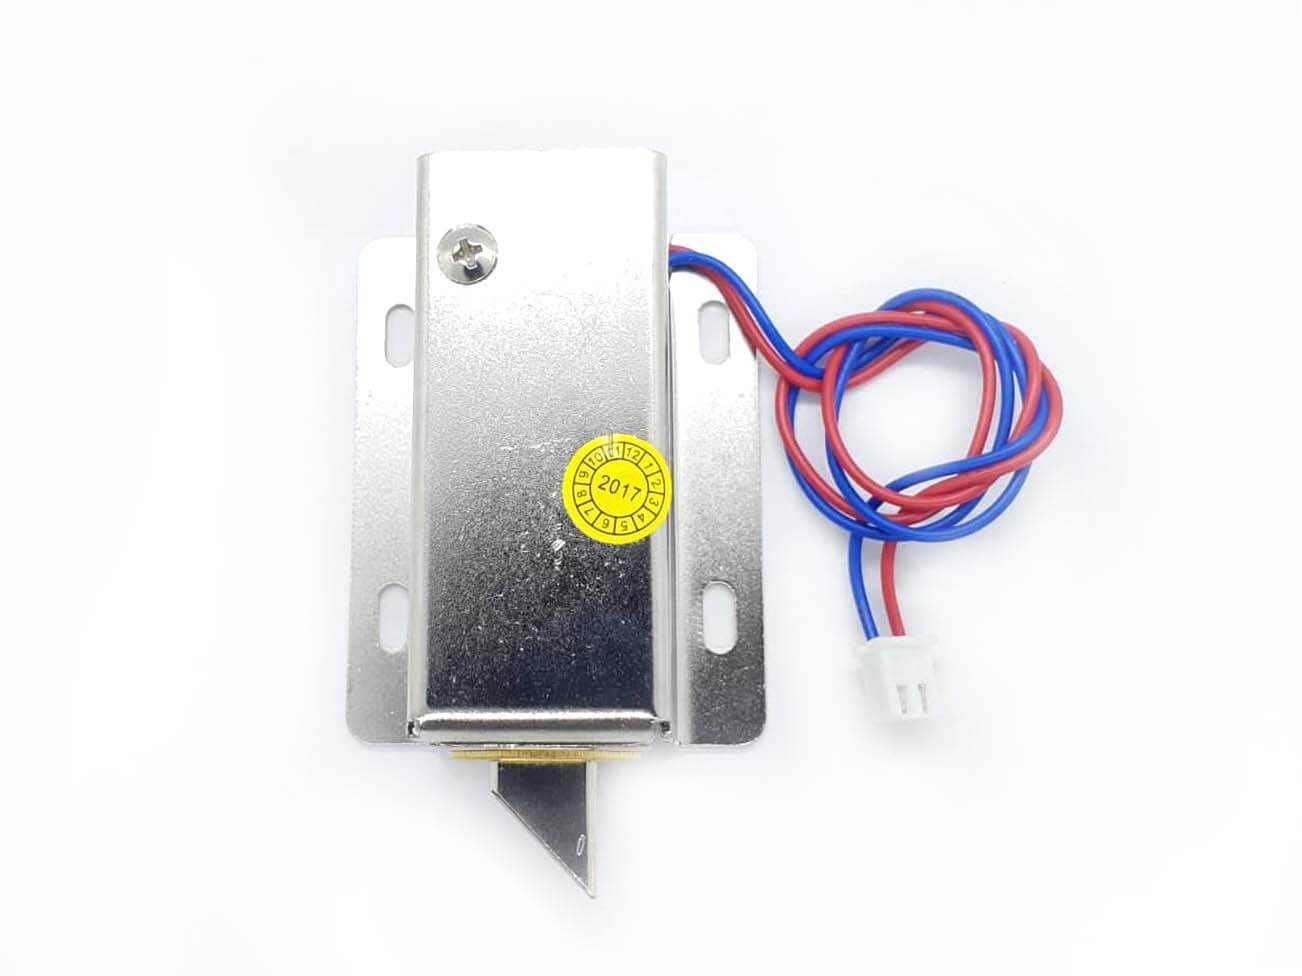
Solenoid Lock-style 12VDC - Solenoids are basically electromagnets: they are made of a big coil of copper wire with an armature (a slug of metal) in the middle. When the coil is energized, the slug is pulled into the center of the coil. This makes the solenoid able to pull from one end.
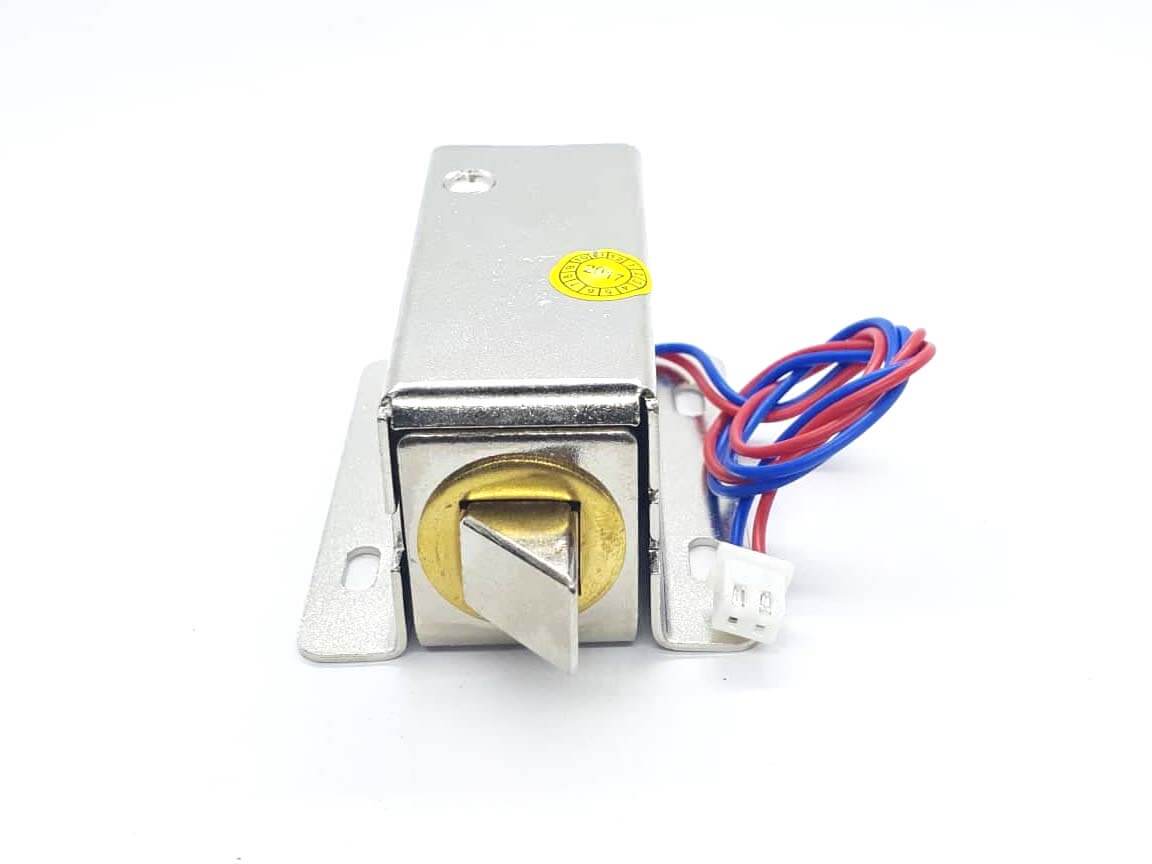
This solenoid in particular is nice and strong and has a slug with a slanted cut and a good mounting bracket. It's basically an electronic lock, designed for a basic cabinet or safe or door. Normally the lock is active so you can't open the door because the solenoid slug is in the way. It does not use any power in this state. When 9-12VDC is applied, the slug pulls in so it doesn't stick out anymore and the door can be opened.
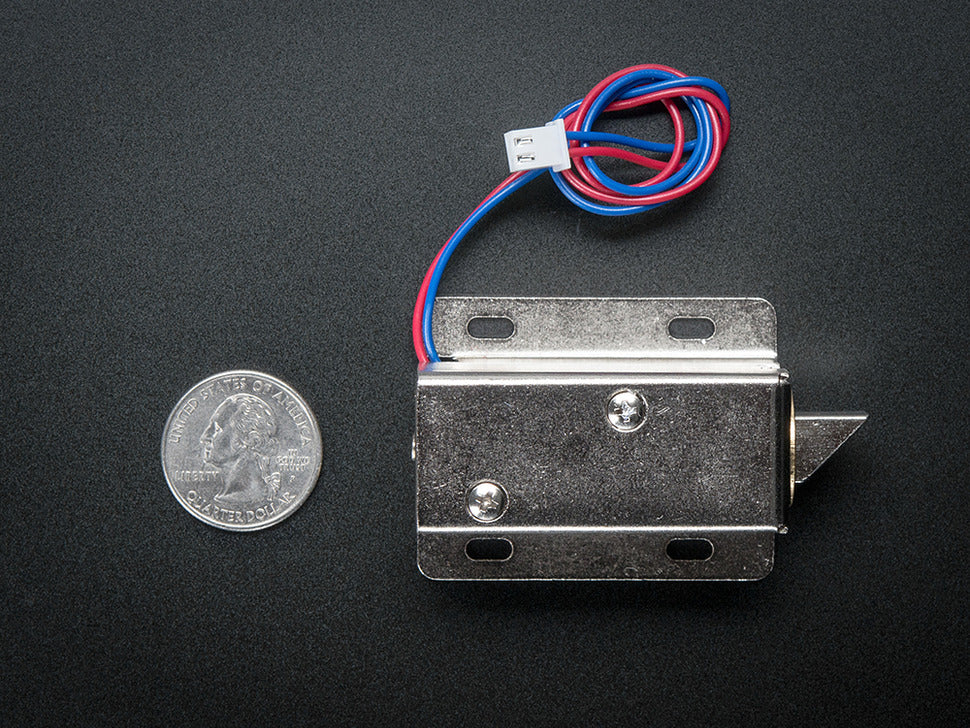
The solenoids come with the slanted slug as shown above, but you can open it with the two Phillips-head screws and turn it around so its rotated 90, 180 or 270 degrees so that it matches the door you want to use it with.
To drive a solenoid you will a power transistor and a diode, check this diagram for how to wire it to an Arduino or other microcontroller. You will need a fairly good power supply to drive a solenoid, as a lot of current will rush into the solenoid to charge up the electro-magnet, about 500mA, so don't try to power it with a 9V battery!
TECHNICAL DETAILS
- 12VDC (you can use 9-12 DC volts, but lower voltage results in weaker/slower operation)
- Draws 650mA at 12V, 500 mA at 9V when activated
- Designed for 1-10 seconds long activation time
- Max Dimensions: 41.85mm / 1.64" x 53.57mm / 2.1" x 27.59mm / 11.08"
- Dimensions: 23.57mm / 0.92" x 67.47mm / 2.65" x 27.59mm / 11.08"
- Wire length: 222.25mm / 8.75"
- Weight: 147.71g
-
Diagram
- SketchUp Datasheet
People Also Ask:
Q1: How is the lock solenoid installed?
- To make the latch when you close the cabinet or door, you must first spin it.
- The solenoid cover screws should be removed. (One of mine was tucked away under a sticker.)
- The E-ring ring holding the latching slug in place should be removed. Here between spring and the square brass collar, it is somewhat concealed. If you don't have the right equipment for removing them, you can generally peel them off with a screwdriver or a pair of needle-nose pliers.
- To position the long straight side of the latch slug on the side of the lock with the mounting holes, turn it 90 degrees.
- Reinstall the cover and replace the E-ring.
- We'll carry out the most basic installation, in which the lock solenoid is mounted on the front of the drawers and latches against the drawer or door frame.
- For the latch to lock when the drawer is closed, the lock solenoid needs to have enough spacing behind it for the latch to clear the frame.
- Additionally, the latch must be able to move easily while the drawer is shut. Since the solenoid isn't very strong, it won't retreat when triggered if it's wedged in too tightly. Adding some spacers between the lock and the drawer or door will probably be necessary.
- With #4 wood screws, position it vertically so the latch may easily slip under the drawer frame. For the screws, drill pilot holes to prevent the splitting of the wood.
Q2: How do I install the Lock Sensor and Lock Solenoid, question two?
Q3: How does a solenoid operate?
Q4: What is the amp usage of a 12-volt solenoid?
Solenoid Lock-style 12VDC
Solenoid Lock-style 12VDC
Out of stock
Product Code
SKU:1512
Couldn't load pickup availability
