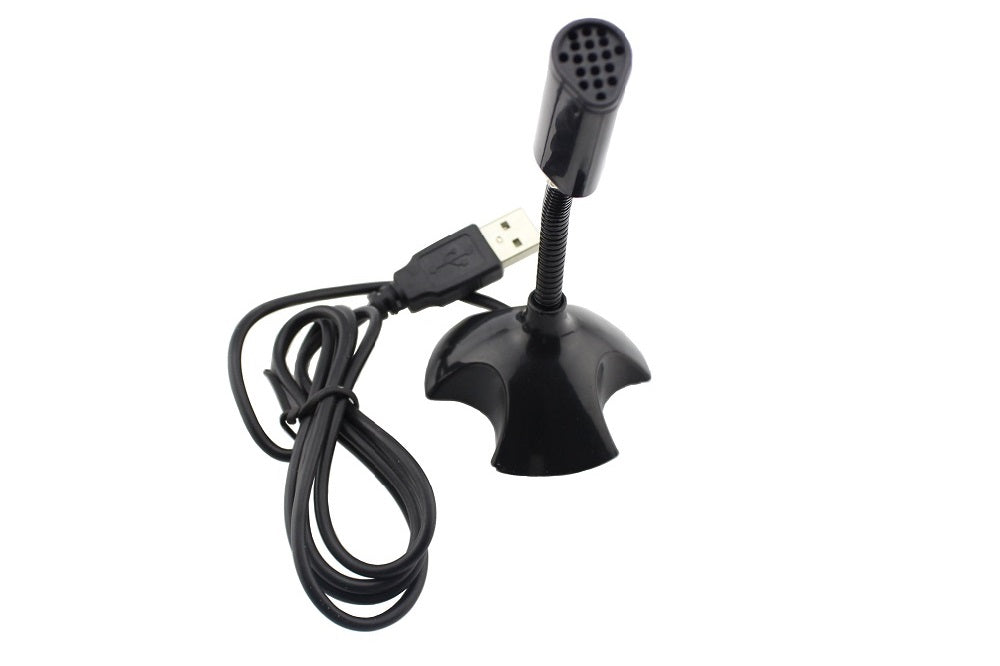
- The sensitivity: - 47 dB + 4 dB
- Lower sensitivity: - 3 dB at 1.5 V
- Working voltage: 4.5 V
- The frequency response: 100 to 16 kHz
- SNR: wining - 67 dB
- Wire length: 0.7 to 0.9 M
Library: None
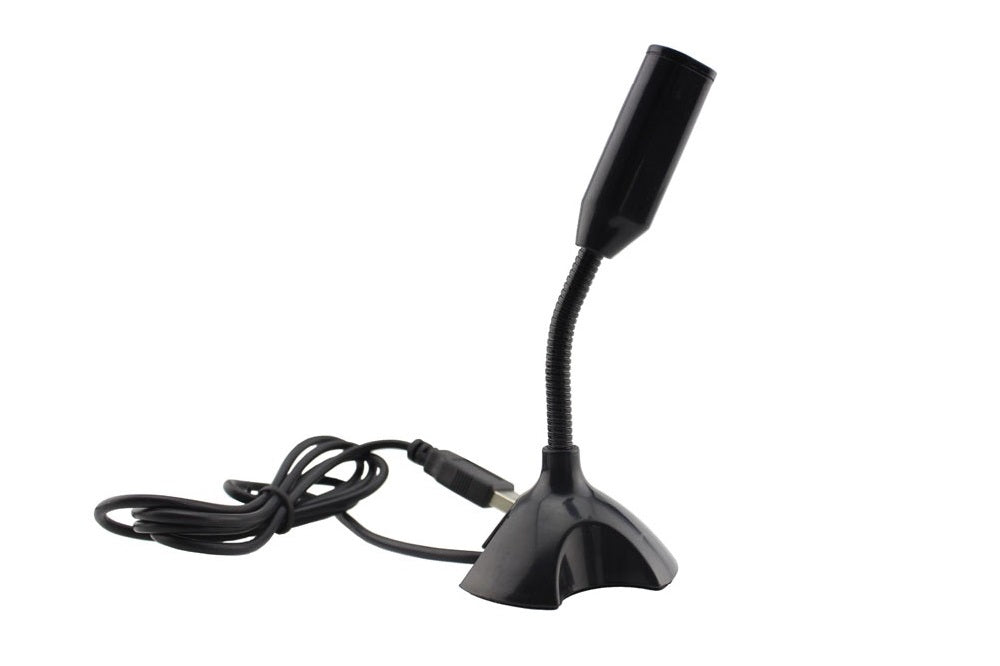
Inclusions: 1 x USB Microphone for Raspberry Pi
Documents: None
When it comes to enhancing your Raspberry Pi projects with audio capabilities, a USB microphone can be a game changer. Imagine your Raspberry Pi as a versatile Swiss Army knife—while it can do many things, a USB microphone adds the ability to "hear" the world around it, transforming it into a more interactive device.
What is a USB Microphone?
A USB microphone is like a smart eavesdropper. Instead of relying on complex wiring or analog signals, it connects directly to your Raspberry Pi through a USB port. This simplicity is akin to plugging in a lamp—no need for complicated setups or electrical know-how. You just connect the microphone, and it's ready to go!
Why Choose a USB Microphone for Raspberry Pi?
- Ease of Use: Setting up a USB microphone is as straightforward as setting up a new gadget in your home. Just plug it in, and the Raspberry Pi recognizes it without requiring any additional hardware or intricate configurations. This user-friendly nature is ideal for beginners.
- Compatibility: Most USB microphones work seamlessly with the Raspberry Pi. Think of it like a universal remote for your home entertainment system—it’s designed to work with various devices, eliminating compatibility issues.
- Quality Audio Input: Many USB microphones offer superior audio quality compared to built-in microphones on laptops or other devices. If a built-in mic is like listening to music through a tin can, a USB microphone brings clarity and depth to your audio, making it perfect for projects that require clear voice capture, like virtual assistants or audio recordings.
How to Set Up a USB Microphone
Setting up a USB microphone with your Raspberry Pi is similar to baking a simple cake—follow a few steps, and you’re done:
- Connect the Microphone: Plug the USB microphone into one of the USB ports on your Raspberry Pi. It’s like adding an ingredient to your mixing bowl; it’s essential for the final product.
- Install Necessary Software: Depending on your project, you may need to install audio recording software. Popular choices include Audacity or arecord, which allow you to record and edit audio easily. Think of this step as preheating your oven—it’s necessary for the baking process to begin.
- Test the Microphone: Use a simple command in the terminal to check if your Raspberry Pi recognizes the microphone. This is akin to tasting your batter; you want to ensure everything is working before moving forward.
- Start Recording: Now that everything is set up, you can start capturing audio. Whether you’re recording voiceovers, creating podcasts, or experimenting with voice commands, the possibilities are endless!
Potential Projects with USB Microphones
The integration of a USB microphone opens up a realm of exciting projects. You could create a voice-controlled assistant, much like having your own mini-Siri at home. Alternatively, consider setting up a home automation system that responds to voice commands, transforming your Raspberry Pi into a smart home hub.
Another fun idea is to use it for podcasting or audio blogs. With a good USB microphone, you can record professional-sounding audio, allowing you to share your thoughts and creativity with the world.
Conclusion
Incorporating a USB microphone into your Raspberry Pi projects is like adding a new dimension to your creative toolkit. Whether you’re a hobbyist, a tech enthusiast, or someone looking to explore audio projects, a USB microphone provides an accessible and powerful way to enhance your creations. So go ahead, plug in that microphone and let your Raspberry Pi listen to the world!
USB Microphone for Raspberry Pi
USB Microphone for Raspberry Pi
160 in stock
Product Code
SKU:2797
Couldn't load pickup availability


