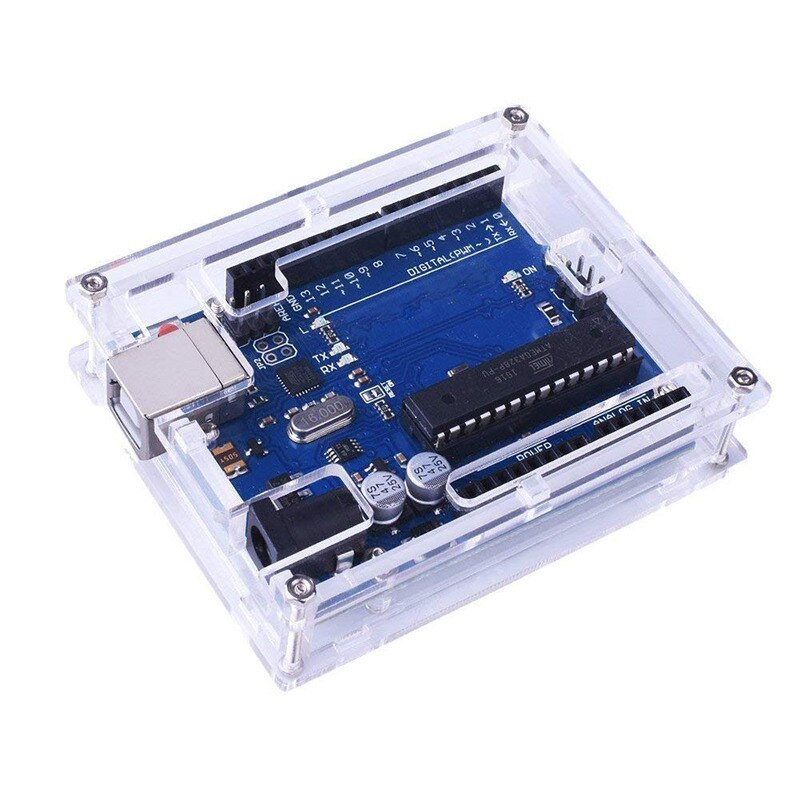
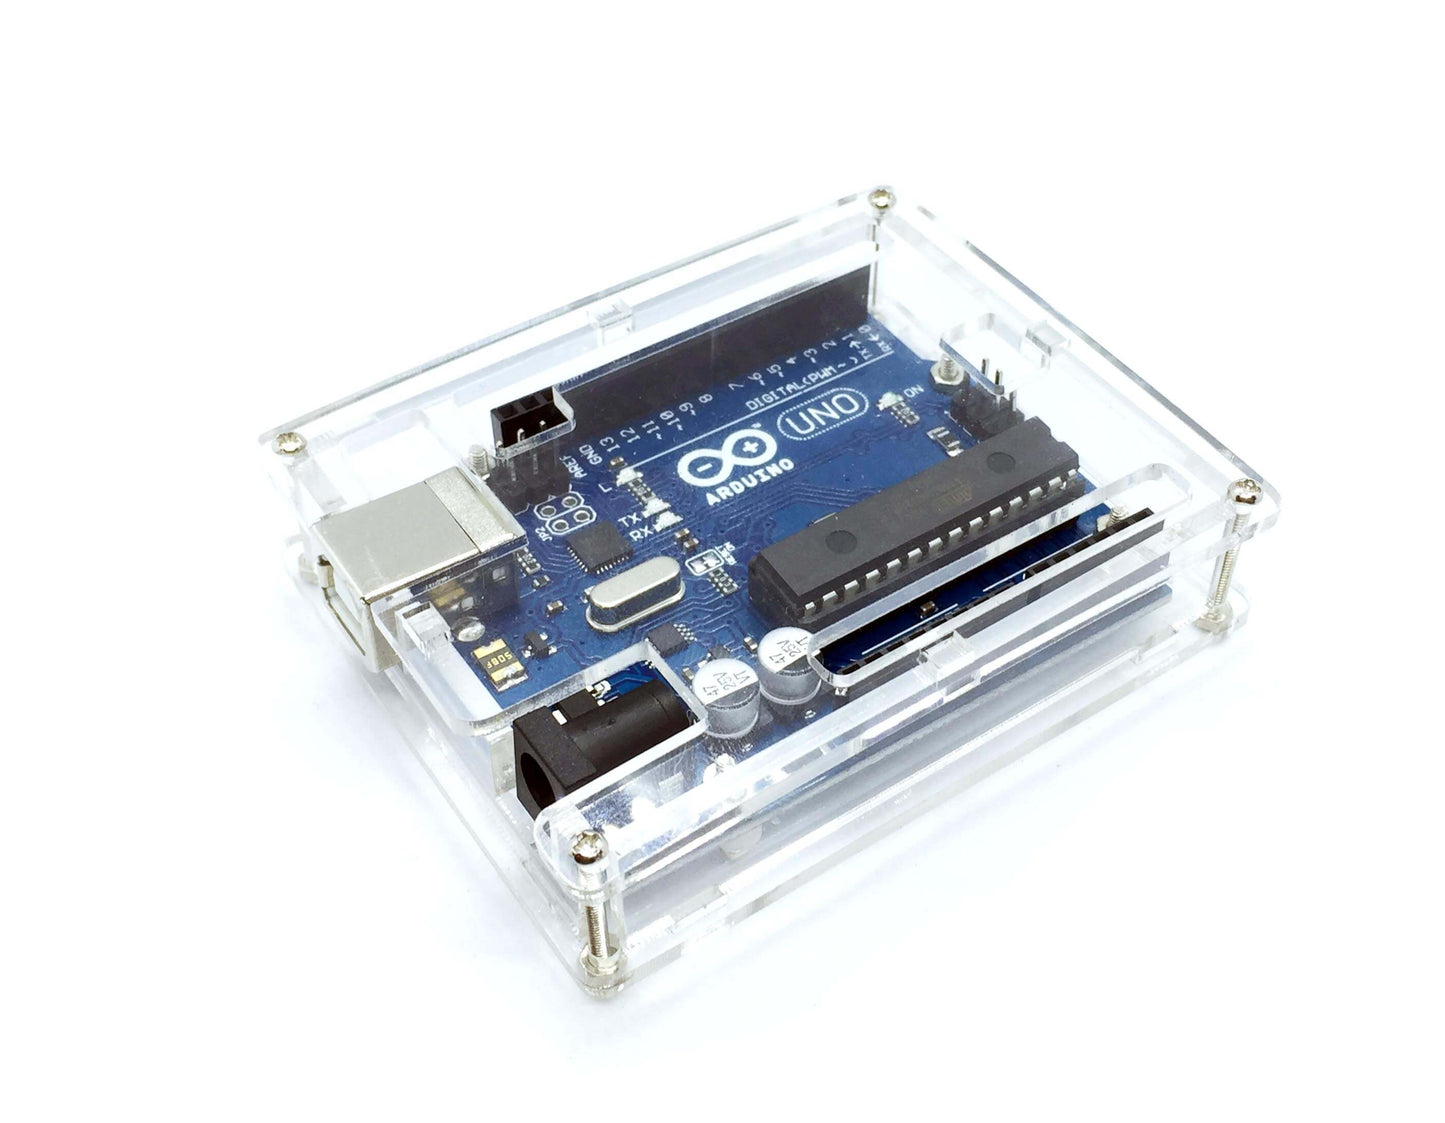
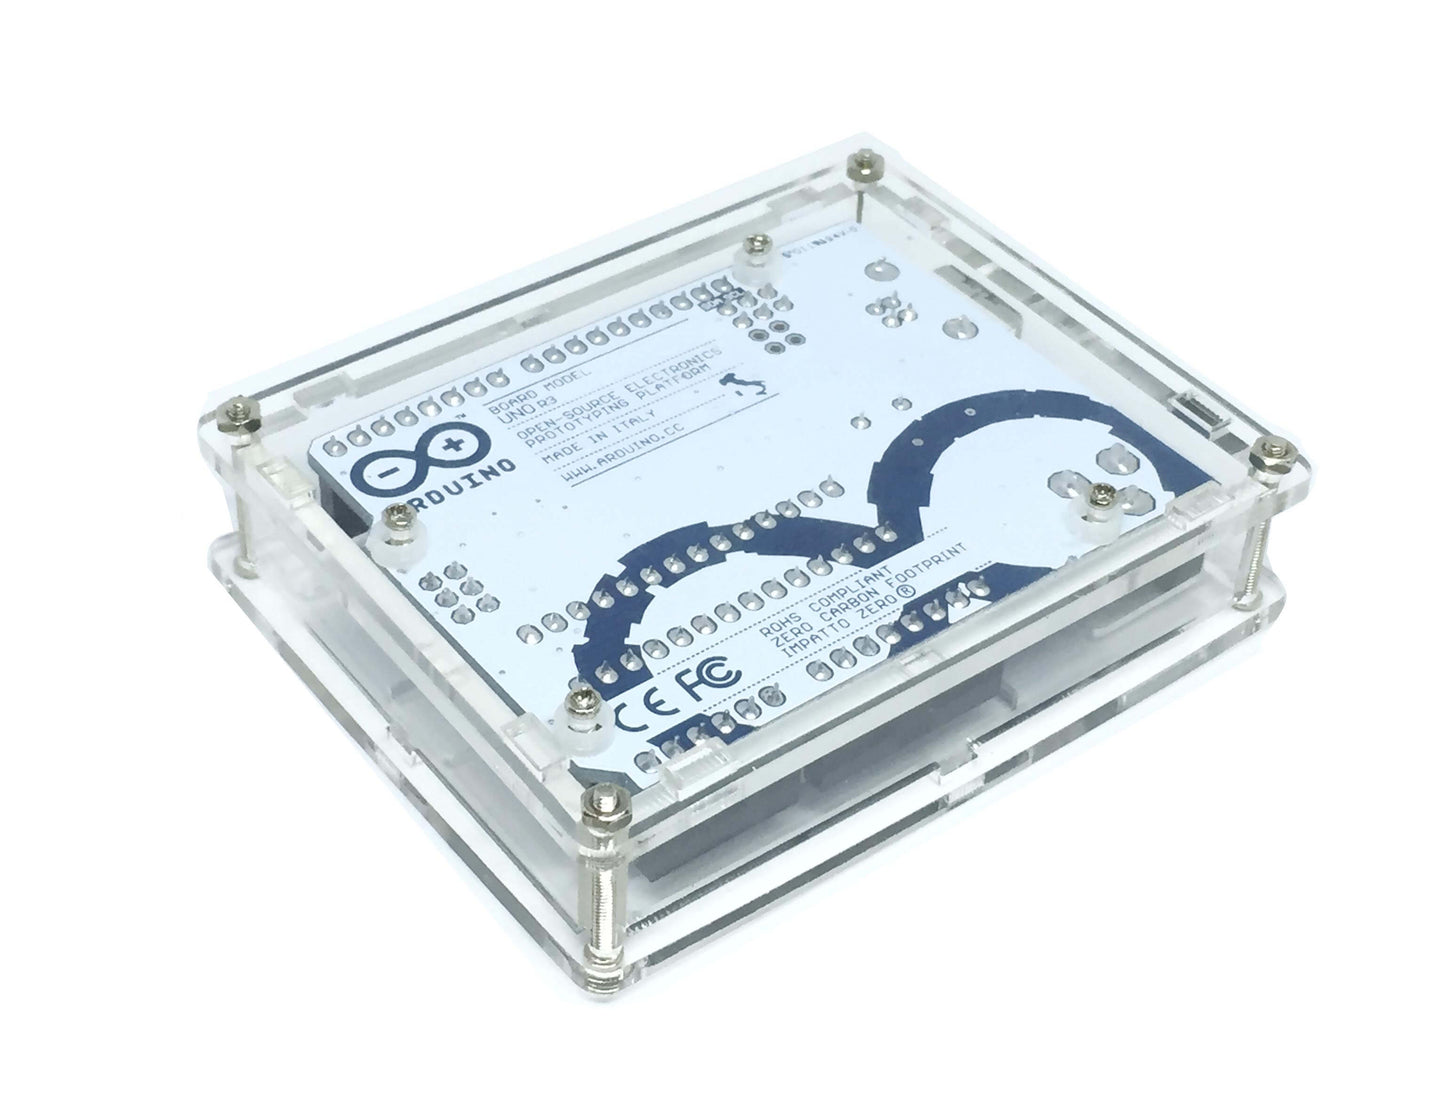
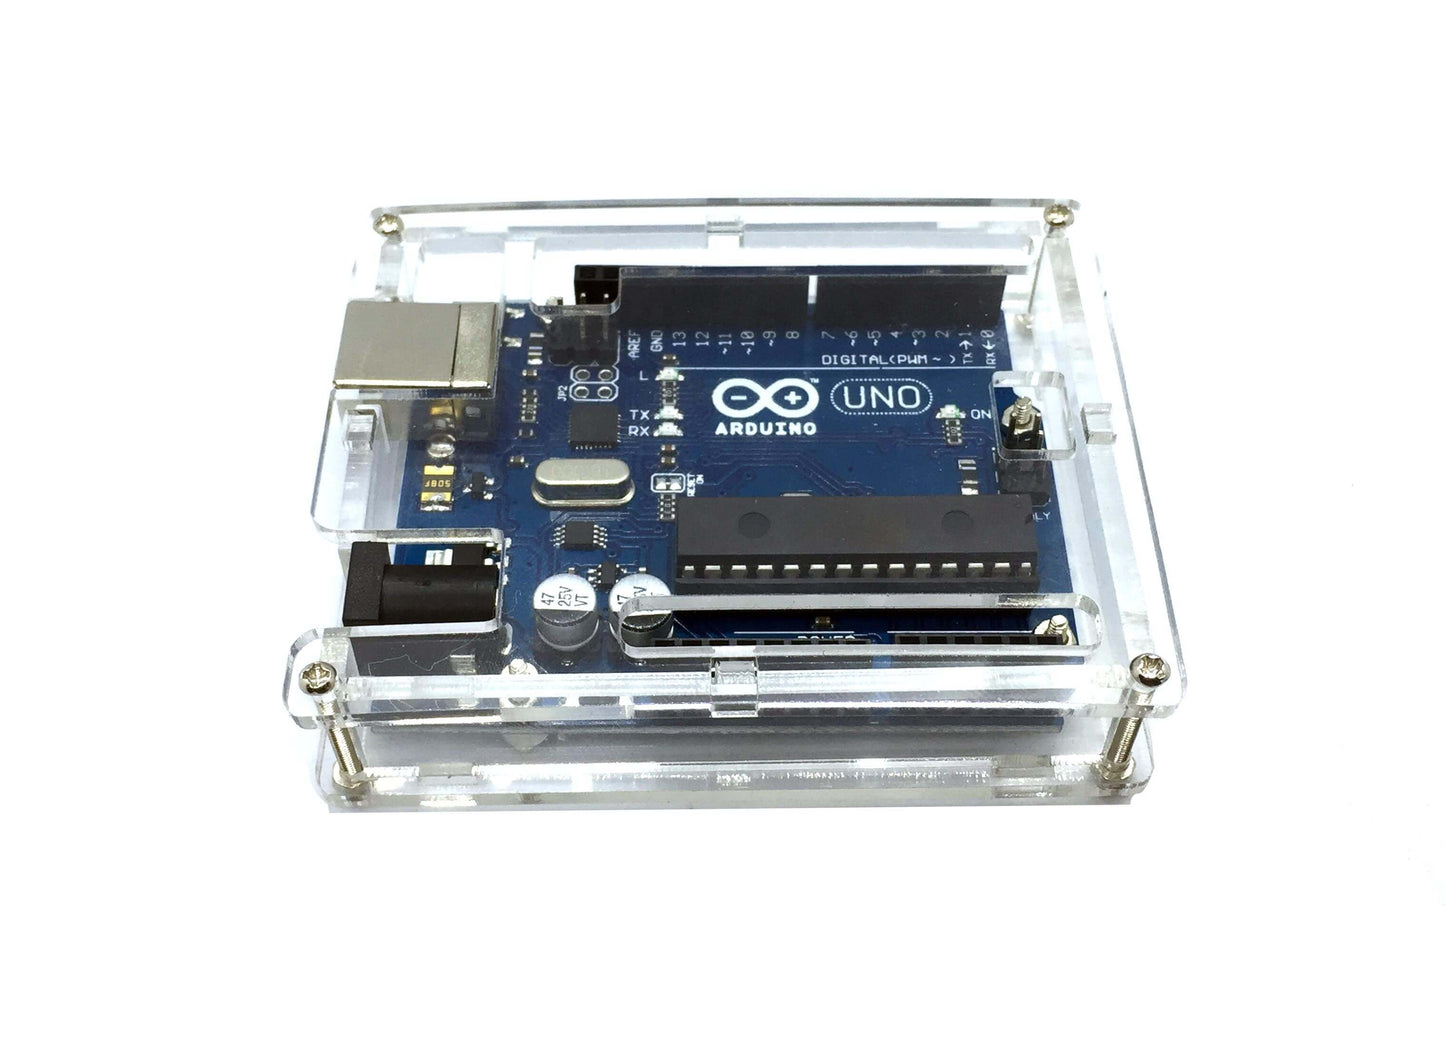
Arduino Uno R3 Acrylic Enclosure - Arduino Uno has an exposed circuit that is prone to short circuits. This enclosure would keep your Arduino Uno from getting short circuit even if placed on top of a metal surface.
This kit includes 6 pcs unassembled acrylic parts; 2 of them are the base and the lid, 2 for the sides, and the last 2 is for the front and back part of the Arduino Uno. It also has screws for mounting the Arduino Uno into this Acrylic case as well as closing the lid of the case.
This acrylic case fits the Arduino Uno perfectly.
Acrylic Case Shell Enclosure for Arduino Uno R3
It is a transparent case shell made of high-grade acrylic to bring excellent protection to the unit. Further, the case provides a flexible design to create an easy mechanism for connections with other components. The astonishingaspect is that the acrylic case shell enclosure brings the same size as the original Arduino Uno R3.
Some of the physical parameters are as follow:
- Material: A-grade acrylic sheet
- Weight: 53 grams
- Dimensions: 79.5 x 64.5 x 21 mm
The Arduino Uno R3 acrylic enclosure is primarily designed to fit the original Arduino UNO R3. Alongside, the unit is also compatible with other boards, including the standard and SDM versions.It ensures excellent connection establishment along with delivering great protection to the board.
When it comes to assembling the unit, the system encompasses 2.4mm thick acrylic pieces. It also snatches the required hardware to assemble the case and to mount the Arduino Uno. Compatible boards can also be placed inside the enclosure for the perfect mechanism settings.
Acrylic Case Shell Enclosure – Guidelines to Assemble the Unit
Well, installing the acrylic case shell enclosure can be a bit technical process. If you want to get things in the right place, make sure to follow the undermentioned guidelines:
- First, put protective paper off the acrylic pieces.
- Now, you can place the UNO on the solid bottom by making sure to mount the holes in the right line.
- Embed the acrylic end piece by keeping it under the USB/DC jack into the bottom piece.
- Further, you can install the Uno board unit using 4 screws. Place the acrylic washer under the board to space it up a bit. Of course, this may be the most technical aspect where you need to be a bit vigilant. Inserting screws from the top to the bottom can be easier. But putting the screws from the bottom and the cardboard to hold it in place can also be another way to attempt the effort.
- Hereafter, a user needs to add acrylic washers before putting the board down over the screws.
- Now, you can add nuts lightly and then tighten the screws after getting everything together.
- Now, you can install the remaining 3 parts of the side and add the top piece by ensuring all units, tables, and slots are aligned correctly.
- In the end, you’ll have to fasten the bottom to top units using 4 long screws and 4 nuts to complete the assembling process.
Acrylic Case Shell Enclosure for Arduino Uno R3 is a potent unit to protect your technical Arduino Uno systems. Alongside snug-fit design, it also provides efficient connectivity with other external components, thanks to the competent design profiles.
Key Specifications
- Screw copper pillar and installation guidelines
- Requires no tools
- Easy assembling and disassembling
- Light and easy transportation
- Good heat dissipation
- Provides easy access to all units and parts
- Protects your computer from dust, scratches, and damages
Arduino Uno R3 Acrylic Enclosure
Arduino Uno R3 Acrylic Enclosure
16 in stock
Product Code
SKU:AJ185
Couldn't load pickup availability


