Ultrasonic Ranging Sensor HC-SR04
One of the most common distance sensors in Arduino craft is here! The Ultrasonic Ranging Sensor HC-SR04 is a distance sensor that employs sound to measure the distance between the sensor and the nearest obstacle in its direction. It only needs two digital pins aside from power and ground to send distance data to a microcontroller. It is also cost-friendly and works well with Arduino boards. The device works by sending a sound wave and waiting for it to return when hit by nearby obstacles/objects. To compute the distance, you must use the distance formula - which is the time passed multiplied by the speed of sound. Alternatively, you can also use pre-written libraries like the one mentioned below.
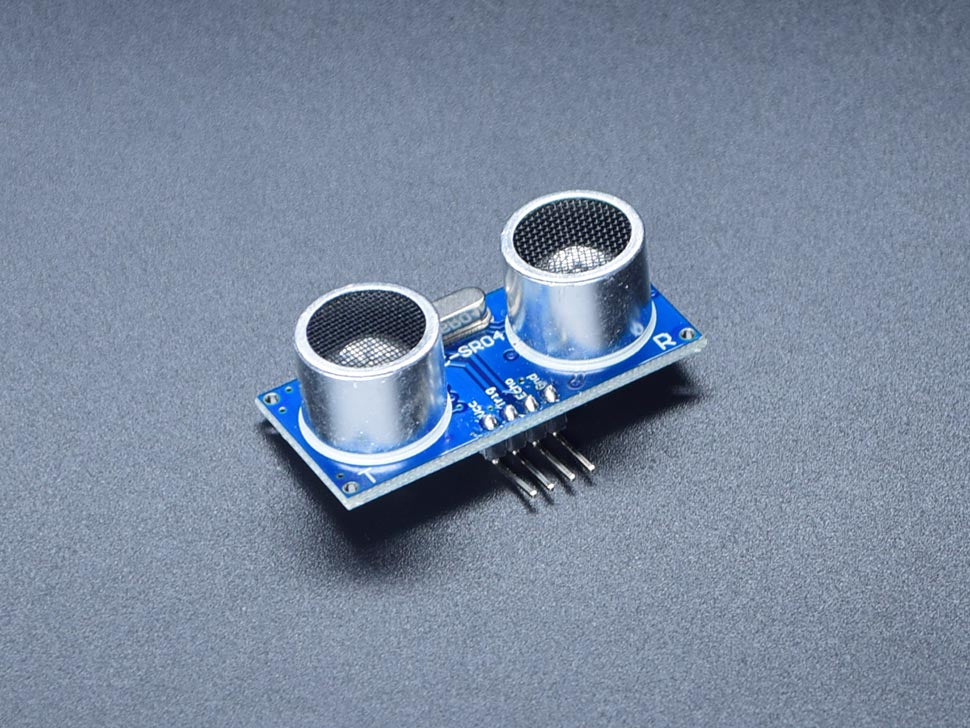
The HC-SR04 Ultrasonic Range Sensor is quite a popular sensor device that we can find implemented in many applications. The prime objective of this sensor equipment is to detect and measure the distance from an object in its direction. You can see two projects embedded; looking like two eyes to work as a transmitter and receiver. Further, it uses sonar to determine the distance and reflects accurate data based on the information derived.
Furthermore, an ultrasonic sensor is an electrical equipment used to measure the distance of an object by relieving ultrasonic waves. Further, it converts the reflected sound into electrical signals. Ultrasonic waves travel faster compared to audible sounds that we can hear. The US features two main components – the Transmitter and the Receiver. The job of the transmitter is to emit the sound using piezoelectric crystals. On the other hand, the main task of the receiver is to encounter the sound after it travels from/to the target object.
Ultrasonic Range Sensor HC-SR05 Hardware Analysis
Basically, the Ultrasonic Range Sensor integrates two ultrasonic transducers. As we’ve mentioned earlier, one of the two units acts as a transmitter whose main role is to convert an electrical signal into 40 kHz ultrasonic sound waves. Near to it, there is another transducer to act as a receiver to catch and listen to the transmitted pulses. When it receives the waves, the receiver determines the distance that pulses have covered/travelled.
Further, the small-sized Ultrasonic Sensor can be integrated into any robotics project to ensure a non-contact range detection of up to 400cm. The unit can also be hooked directly to any 5V logic microcontroller such as Arduino.
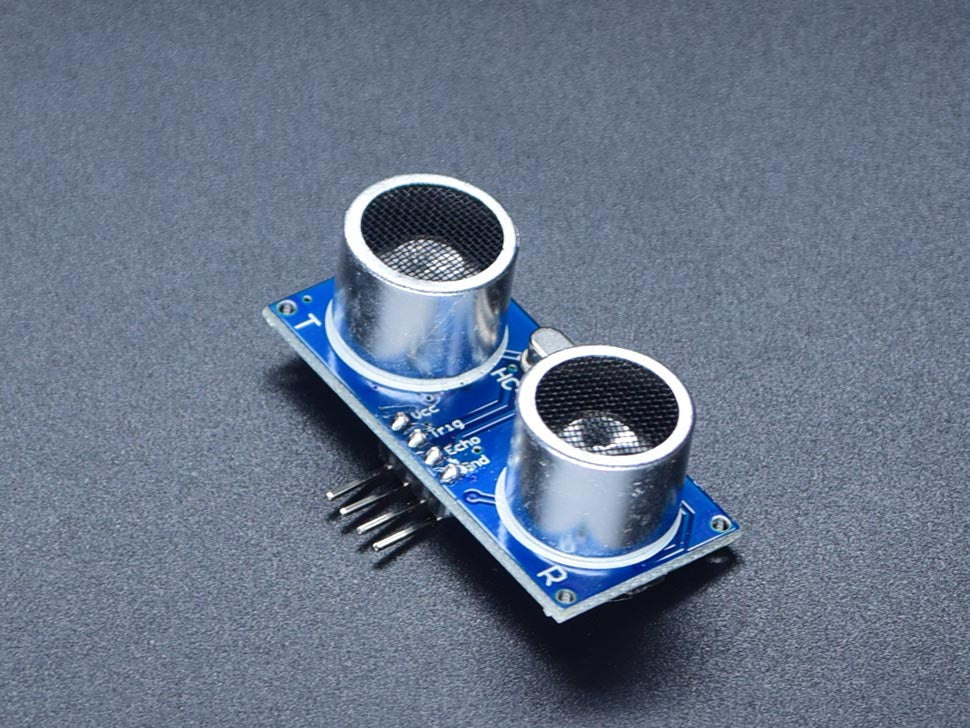
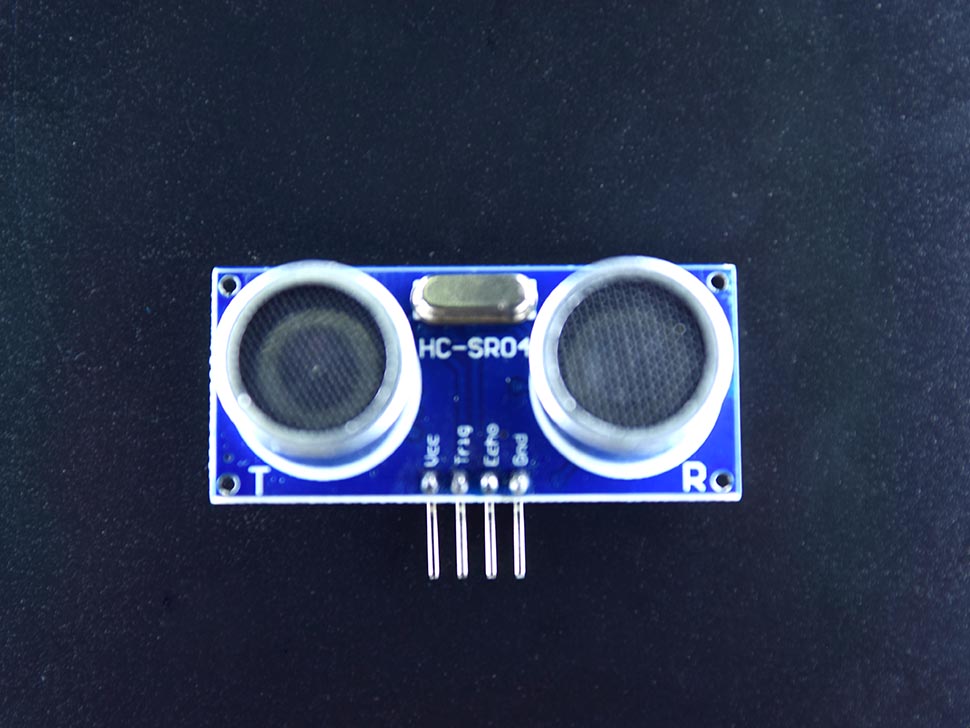
HC-SR04 Range Sensor – Pinout
As you can see, there’re four pins protruding out of the unit; intended for different functions. Here’s the description of the sensor pinout:
- VCC – VCC denotes the power supply for the HC-SR05 sensor. You can connect VCC to the 5V pin on the Arduino.
- Trig (Trigger) – This module is used to trigger the ultrasonic sound waves that help determine the distance.
- Echo – This pin generates a wave upon receiving the reflected signal. Its length comes in accordance with the time it takes for the transmitted signal to be identified.
- GND – This pinout allows you to connect with the ground of Arduino.
Both Trig and Echo pins act as the I/O pins of the unit; allowing you to connect it to the I/O pins of Arduino. Upon receiving the return wave by the receiver element, the Echo pin goes high for a definite time that is equal to the time taken by the pulse to return back to the sensor.
How does Ultrasonic Sensor Work?
The functional approach of ultrasonic sensors is quite straightforward. It works by releasing a sound wave at a certain frequency that human beings can't hear. Since it equips a transducer, this unit acts as a microphone to receive and send the ultrasonic sound. Similar to many other sensing devices, an ultrasonic sensor implements a single transducer to send a pulse and receive the echo. Ultimately, it helps determine the distance to a target on the basis of the time the ultrasonic pulse takes to return back.
Further, the working mechanism of the sensor unit is simple. It sends an ultrasonic pulse out which travels in the air and returns back to the sensor after hitting an obstacle or object. Hence, it calculates the distance between the sensor and the object by calculating the speed and travel time of the pulse. It is a great tool to identify clear objects. It helps detect objects, irrespective of the color, shape, or material.
How are Ultrasonic Sensors Used?
Well, there is wider applicability of ultrasonic sensors. These are integrated with microcontroller platforms such as ARM, Raspberry Pi, Beagle Board, PIC, Arduino, and many other channels. It detects the distance by measuring the travel time of the sound wave it releases towards the target. It is an electronic device that helps detect the distance from the sensor to the given target on the basis of the time the sound wave takes to travel through the air. Therefore, the common area of usage of ultrasonic sensors is obstacle avoidance systems and manufacturing processes.
Unfavorable Environments for Ultrasonic Sensors
There are certain situations when we can't utilize the ultrasonic sensor to measure the distance. When the target object is too small to be recognized by the sensor, the ultrasonic sensor stays worthless under such conditions.
Specifications:
- Trigger Pin Format: 10 uS digital pulse
- Sound Frequency: 40 kHz
- Echo Pin Output: 0-Vcc
- Echo Pin Format: output is DIGITAL and directly proportional with range. See our conversion formula above.
- Measurement Range: 2cm to ~4.5m
- Measurement Resolution: 0.3cm
- Measurement Angle: up to 15 deg
- Measurement Rate: 40 Hz
- Supply Voltage: 4.5V to 5.5V
- Supply Current: 10 to 40mA
- Connector: standard 5-pin male connector which can plug directly into breadboards.
- Static current : less than 2mA
- Detection distance: 2cm-450cm
- Working Votage: 5VDC
-
Ideal distance: 2cm to 500 cm
-
Resolution: 1 cm
- Ultrasonic Frequency: 40k Hz
- Angle Measured: 30 degrees
- Dimensions: 45 x 20 x 15 millimeters
Important Instructions
- To prevent the transmission of acoustic energy through the sensor body, ultrasonic sensors should be installed in plastic threaded adaptors.
- Sensors ought to should only be hand tightened. Never turn the sensor body using a wrench.
- When mounting a tank to a rounded or domed tank, move the sensor mount until the transducer face is parallel to the surface being measured.
- At a flange opening, mount the sensor directly to the tank ceiling. Any riser that is built must have enough diameters to prevent inner wall reflections. The riser's lower edge should be rounded off.
- For outdoor installations, provide a sunshade to prevent the sensor body from overheating and producing inaccurate results. In order for the sensor's built-in temperature correction to function properly, the sensor body should remain constant with the surrounding air temperature.
- Never use an ultrasonic sensor as your primary method of people detection or protection! Although persons are typically consistently recognized by ultrasonic sensors, if a person is at the improper angle or is wearing ultrasonically absorbent clothes, an ultrasonic echo may not be recorded.
- Although they can be employed as secondary safety devices, ultrasonic sensors should never be used in a situation where human life or health is at risk.
Technical Details
-
Manual
- Datasheet
- Github reference
- Tutorial Project
Ultrasonic Ranging Sensor HC-SR04
Ultrasonic Ranging Sensor HC-SR04
149 in stock
Product Code
SKU:AF112
Couldn't load pickup availability