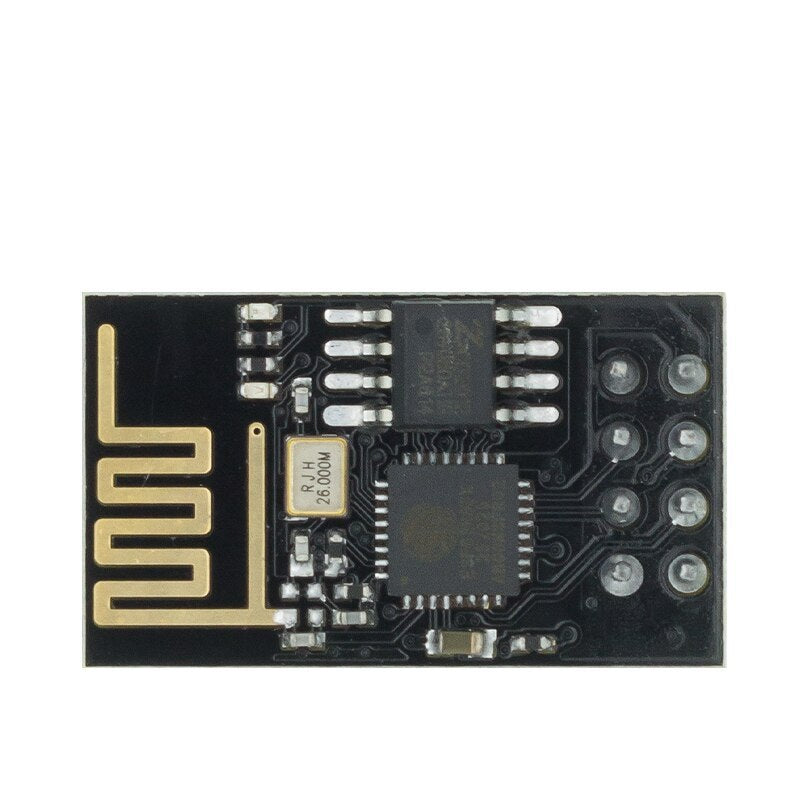
ESP-01 512KB WIFI ESP8266 WiFi Serial Transceiver Wireless Module
ESP-01 512KB WIFI ESP8266 WiFi Serial Transceiver Wireless Module - You could add WiFi capability to your Arduino project by using this module. This module integrates with the ESP8266 IC. It has an integrated TCP/IP protocol stack. It also promotes a complete WiFi networking solution, making it possible to host an application or taking all WiFi networking functions from the different application processors.
ESP8266 also has a powerful onboard processing and storage capability, meaning you could use this module alone in creating a simple project.
You could integrate this with your MCU by connecting it using the UART(RX/TX) and the power supply (3.3V/GND) to make this work.
Connect your ESP-01 512KB WIFI ESP8266
Espressif Systems created the microcontroller known as the ESP8266. This microcontroller, also referred to as a WiFi module, has applications in home automation and other WiFi-related fields. There are numerous ESP8266 module varieties that range in price and functions, but they are all immensely helpful in the IoT world.
There are two ways to link your ESP8266 to the cloud, regardless of the Internet of Things application you've created. Before you can establish the necessary connection and begin transferring data, you must first enter your WiFi credentials into the firmware of the ESP8266. Building your own access point inside the board and developing a universal firmware that will connect to any available network with the simple push of a button are two other options that we'll go over in detail below.
Requirements
- ESP8266 Module
- Arduino IDE 1.8.2 or higher
- ConfigManager Library
- PubSubClient Library
- Ubidots Account
Step 1. Hardware setup
Note: The ConfigManager Library was modified by the Ubidots team to provide a function that enables the AP mode to be started by just hitting an external reset button.
You might need to use this library version to assign the reset pin depending on the ESP8266 module you use. When using a NodeMCU, you must connect the button to the D1 pin because PIN 5 is the default location for the button settings.
Step 2:Set up your device and the Arduino IDE.
Any ESP8266 device must first be installed into the Arduino IDE before use. To build the board, adhere to the procedures listed below.
Note: You can use your home Wi-Fi network or the internet to control the ESP8266 (after port forwarding). The GPIO pins of the ESP-01 module can be set up to remotely toggle an LED or a relay ON or OFF. Through the serial pins, the module can be controlled with an Arduino or USB-to-TTL converter (RX,TX).
People Also Ask:
Q1: What is the distinction between a Chip, a Module, and a Development Board?
As previously stated, the ESP8266 is simply the chip's name. You can buy this in three different formats:
ESP8266 Chip: This is Espressif's basic chip, which comes unshielded and must be soldered to a module. This is unsuitable for most users, except for perhaps volume device manufacturers who can contribute this into the supply chain under the unit cost of a module.
ESP8266 Modules: These are the surface-mountable equipment that contains the chip and are ready to be mounted onto an MCU and are manufactured by Espressif, Ai-Thinker, and other manufacturers. They are usually shielded and FCC-approved for use. As a result, they are a viable option for device manufacturers seeking to scale production.
ESP8266 Development Boards: These are complete IoT MCU development boards with preinstalled modules. They are used by designers and manufacturers to develop prototypes before beginning production during the design stage. Several manufacturers produce development boards, and the specifications vary between models. Some key specifications to consider when evaluating ESP8266 Design & development board alternatives include:
- GPIO pins
- ADC pins
- Wi-Fi antennas
- LEDs
- Shielding
- Flash Memory
Many global markets demand shielded Wi-Fi devices because Wi-Fi generates significant Radio Frequency Interference (RFI), which shielding reduces. As a result, all programmers and embedded-device manufacturers should take this into account.
Q2: Which ESP8266 Module is best for IoT?
As the preceding comparisons demonstrate, there are numerous alternatives available with ESP8266 IoT modules. To assist you in making your decision, we've summarized some of the most prominent ones below.
ESP-01 Ai-Thinker
The ESP-01 is one of the best-selling Internet of Things Wi-Fi modules in the industry. It's popular in smart home and network management projects. It can be used in conjunction with an Arduino thanks to the default AT firmware. However, using a USB-to-ESP-01 adaptor module, you can easily update the firmware. The pin posts on this board make it tough to plug it straight into a breadboard, but this is easily overcome by constructing or purchasing an adaptor module. There are two models available, one with 500kb of flash memory and the other with 1Mbit of flash memory.
ESP-05 Ai-Thinker
This module was created to provide Wi-Fi connectivity for MCUs like the Raspberry Pi and the PIC, as well as other Wi-Fi projects. As a result, it does not have GPIOS. It easily fits into a breadboard, but there have been some concerns about being locked with the factory set firmware unless you're willing to do some serious modifications.
Ai-Thinker ESP-12
With 11 GPIO pins, an ADC, 4Mbits of flash and 10-bit resolution, this module has additional features. The module, however, does not breadboard compatible; therefore you will need to utilize an adaptor. Existing versions include the ESP-12F, which has 20 GPIOS, and the ESP-12S, which has 14 GPIOS.
ESP-01 512KB WIFI ESP8266 WiFi Serial Transceiver Wireless Module
ESP-01 512KB WIFI ESP8266 WiFi Serial Transceiver Wireless Module
103 in stock
Product Code
SKU:CT0917
Regular price
₱ 149.00
Regular price
Sale price
₱ 149.00
Unit price
per
Couldn't load pickup availability